
Tutorials - 3DS Max
Attempting the Difficult
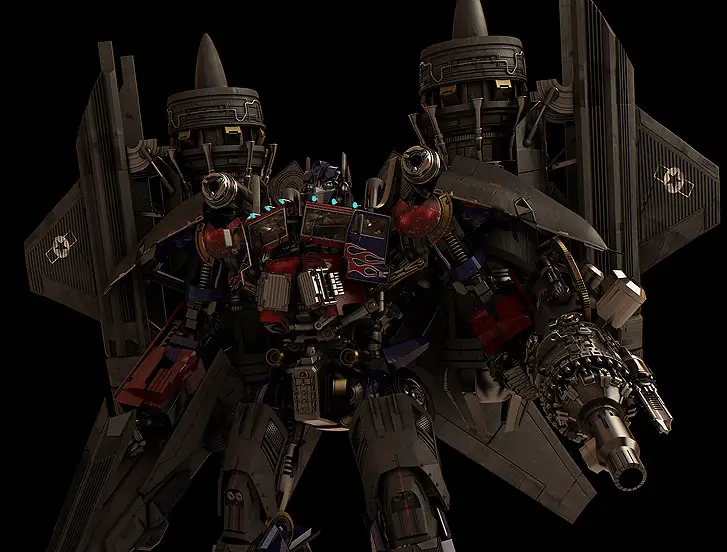
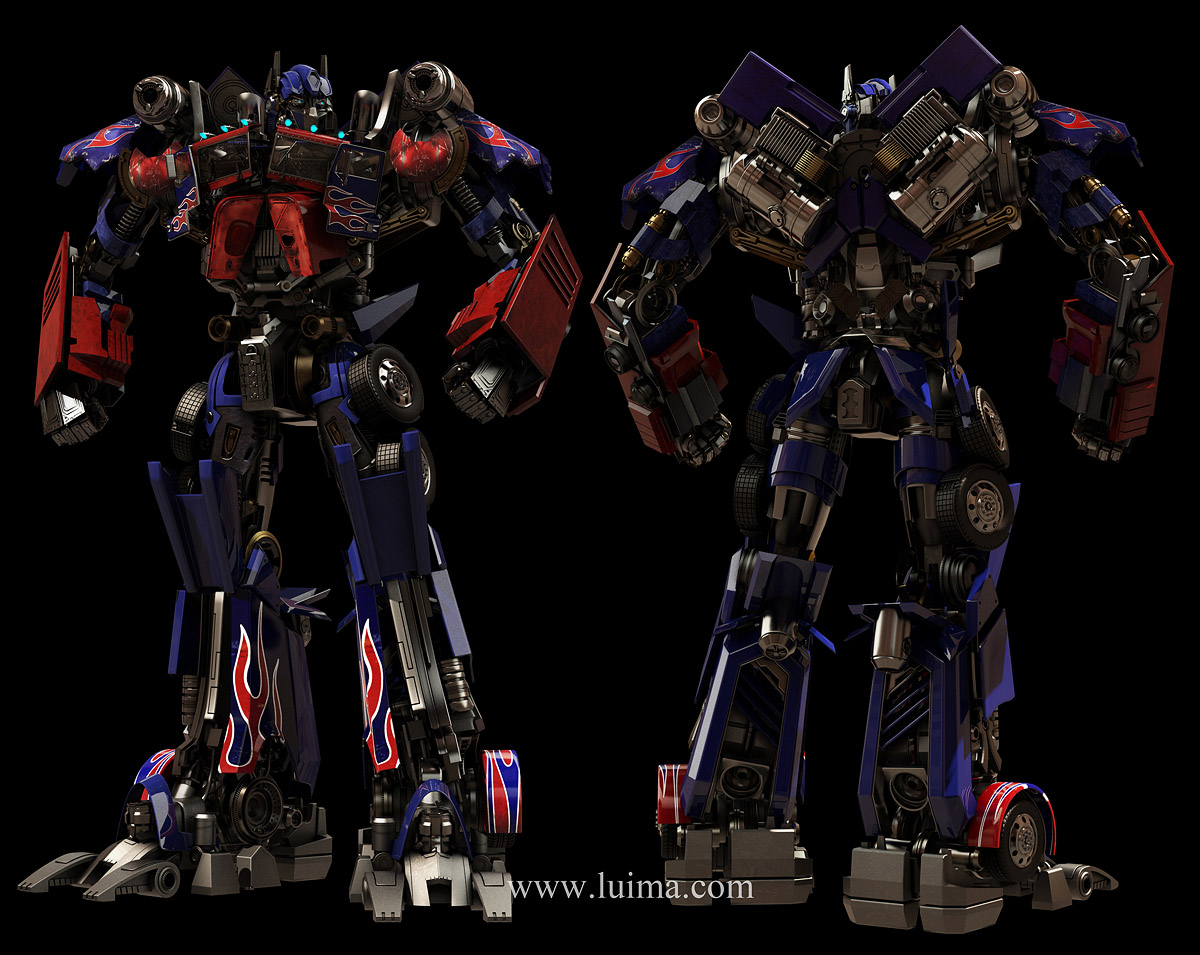
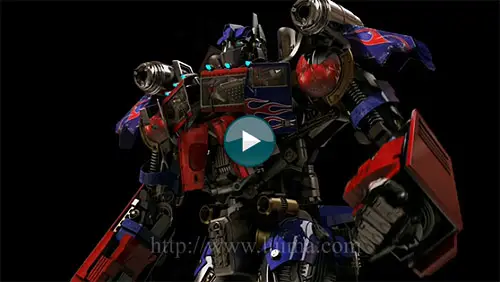
Attempting the difficult is a personal project, inspired by the excellent work done by ILM for the Transformers feature film. The goal was to build, rig, animate and render a complex model with modest equipment and learn from the experience. My version is an approximation of, and a tribute to ILM's great work. They have been an inspiration to me since Jurassic Park.
Modeling
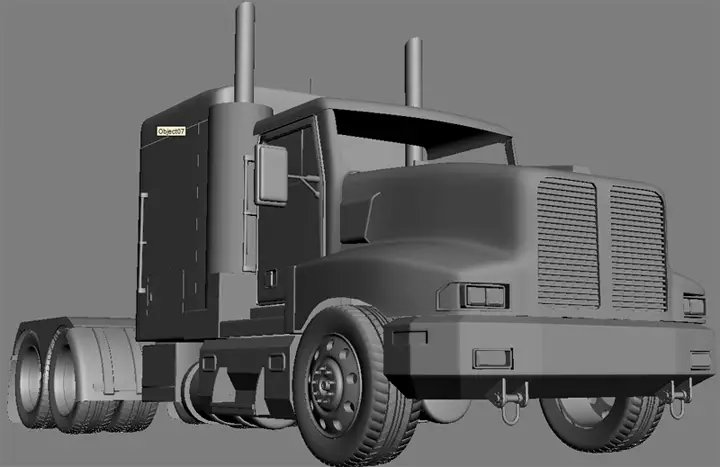
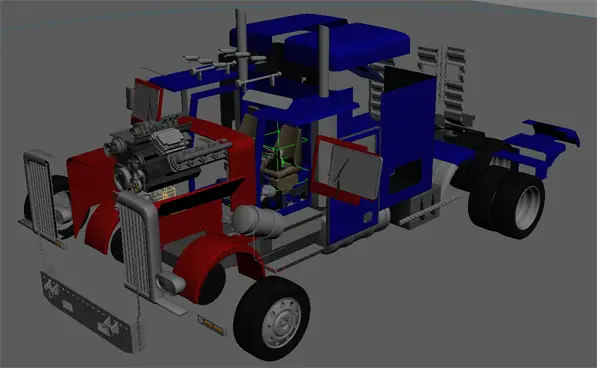
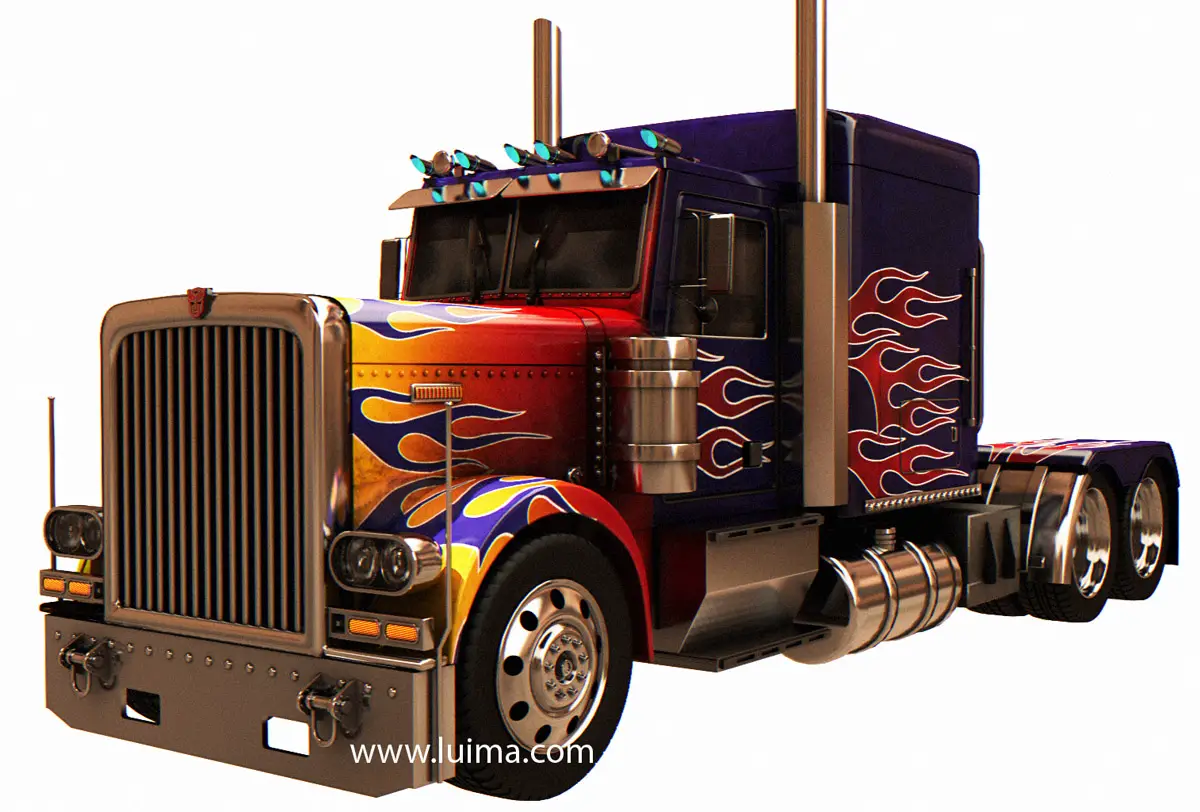
I started the modeling stage building the truck, initially working on a modern-looking version but eventually changed the idea and went back to a more traditional-looking one. For this part of the process I used a lot of reference images of Peterbilt trucks I looked up on the web.
The method used to model the truck was blocking the general shapes with simple geometry, and then doing retopo over the basic shapes and adding detail where needed. I tried to avoid using meshsmooth to maintain the polycount low, but in some areas it wasn't possible to avoid using some kind of smoothing to achieve nice curved surfaces. In these cases, I later collapsed the mesh and did manual optimization, reducing the polycount.

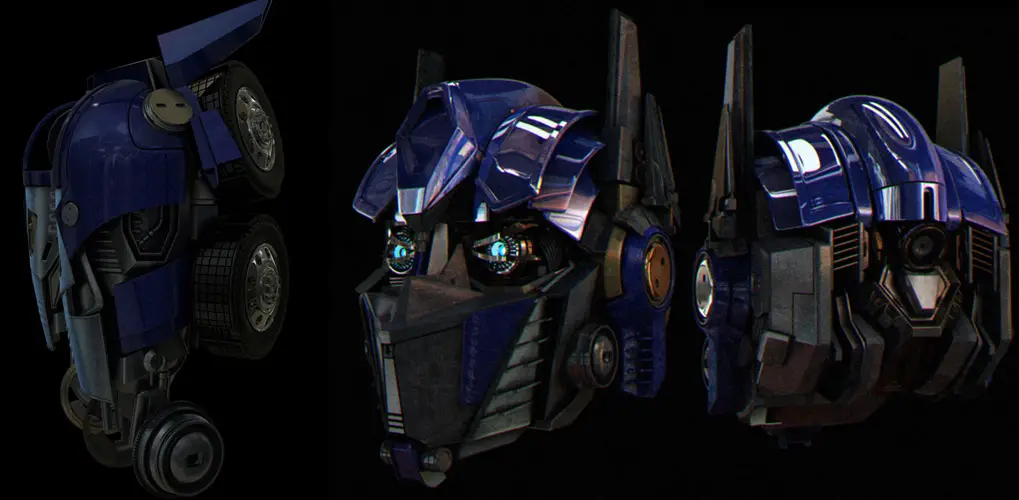
The complete external geometry of the truck was modeled in 4-5 days. After that I moved on to working on the head, and that's where problems began. I don't usually use 2D reference images inside Max when I model (or blueprints). I work with multiple monitors, so I put the reference image on one screen and model on the other one. In this case, the reference image (a still from the film) only showed a part of each one of the pieces that make up the head.
This stage presented a lot of challenges because multiple pieces must fit together as one model with the ability to move and transform the model's overall shape, so it wasn't possible to model each piece and then try to fit them seamlessly. Also, modeling the head as one mesh and breaking it apart wasn't going to work, because the pieces were going to be hollow and redoing the inside part of each piece wouldn't have been very efficient. In order to solve the problem I combined both methods.
First I modeled a quick low poly general shape with the correct volume and form with a transparent shader applied so that I could use it as a 3D "ghost" guide. Then I started modeling each piece and assembling the head at the same time. This way I could model with precision and make sure that the model's ability to "transform" was possible.

For the mechanical-looking pieces I used the spline modeling technique(in most cases). Using booleans for modeling is not a good choice in my experience, but I found an acceptable way to using it sometimes when I need it. You can check the video below for an example of how to use booleans successfully in 3ds max.
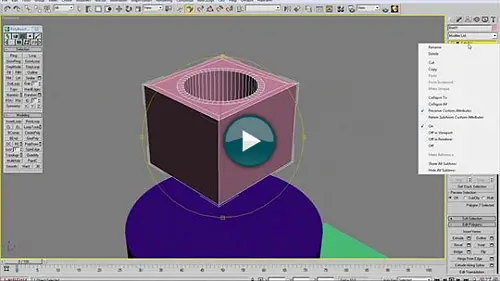
How to use Booleans sucessfully in 3ds max
Another technique used was adding an edit poly modifier on a smoothed piece, adding details and then optimizing the collapsed geometry as seen below
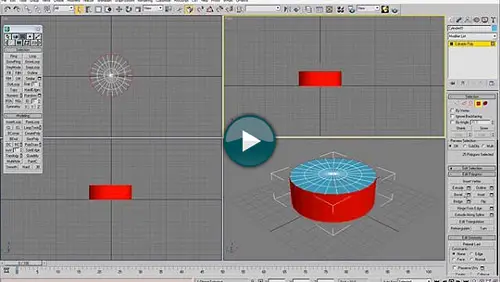
Details over turbosmooth
All these techniques combined properly can help achieve modeling most any surface in little time. Here is a video showing the combined use of booleans, retopo and poly modeling.
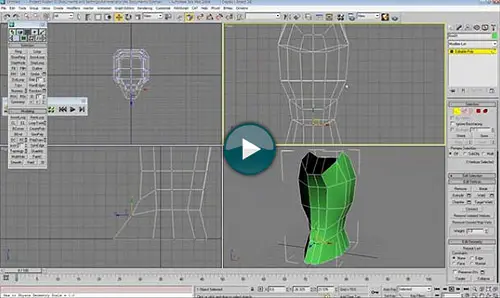
Modeling timelapse
Creating all the pieces required a lot of patience, but it was done fairly quickly. Total time was approximately 3 months, for almost 3,000 parts (most of them nuts and bolts that I re-used a lot on the final model).
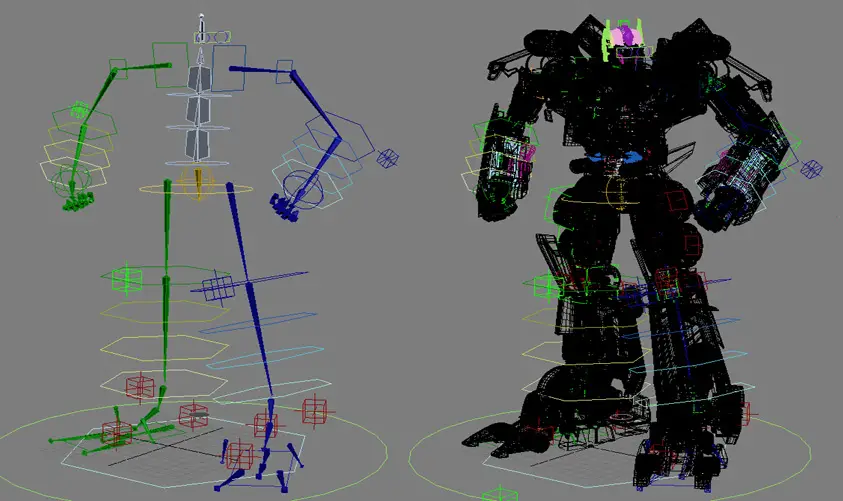
Rigging
Merging the truck with the robot model brought another problem, I couldn't navigate the viewport faster than less than one frame per second, due to the complexity of the mesh. I came up with the idea of breaking the pieces into 11 groups, and rigging each group in a separate scene. If that worked out, I could then mix all the pieces later for rendering the animation. I wasn't sure this would be successful, though, and it meant working on animation half blindly. I used a basic skeleton for the base mesh, and a lot of custom rigs on top of it to drive the transformation and movement of the pieces.
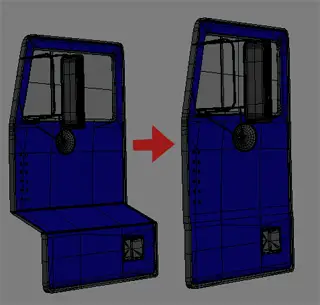
Some pieces had a morph modifier applied to achieve the desired shape (the accompanying image is an example of this). The morph modifier worked great for this effect. The other option was to use bones, but I would've ended up working with too many bones, and the rig was going to be a lot more messy. To avoid strange deformations I made progressive morph targets, and that way deformation looked more natural.
For most of the parts that were not directly attached to the skeleton I used a combination of reactions and wire parameters linked to a slider helper. This way the animation of the transforming pieces and parts was more manageable. I was able to overlap the animations of those parts very easily without getting confused in the process. The video is a small example of this.
Transformation rig using reactor, wire parameters and slider helper
I was trying to achieve natural-looking motion, and didn't want to scale pieces when the transformation occurred. Neither did I want flying or levitating parts around the model. So I developed some small scripts to help with animating the groups of pieces, for tasks such as resetting the position/rotation relative to their parent, baking transformations, linking and unlinking several groups of pieces over time, etc. The rest of the parts was animated by hand.
The cloth modifier was used to produce the swinging chains animation.
Animation
Animation wasn't as difficult as I expected in terms of logistics. To my own surprise, it was a straightforward process. I checked out some toys for reference and soon figured out a way of doing the overall transformation.
The animation process itself, however, presented some challenges in terms of timing, achieving the flow of mechanical parts moving, sliding over other parts and rotating while maintaining the correct feel of weight. This was a scary task, so I turned to the best reference I could get, "real life".
Studying how mechanical devices work gave me a starting point, and the transformation animation from the movie itself helped me a lot to overcome the potential issue of weightlessness. Dividing the model into several groups of parts and animating each one on a different scene fortunately worked. This allowed me to handle complex meshes during the animation process. In order to preview the final animation (of the entire model), I merged all the scenes into one and rendered a preview.
(Click on the image below to see an early transformation test video)
Transformation work in progress
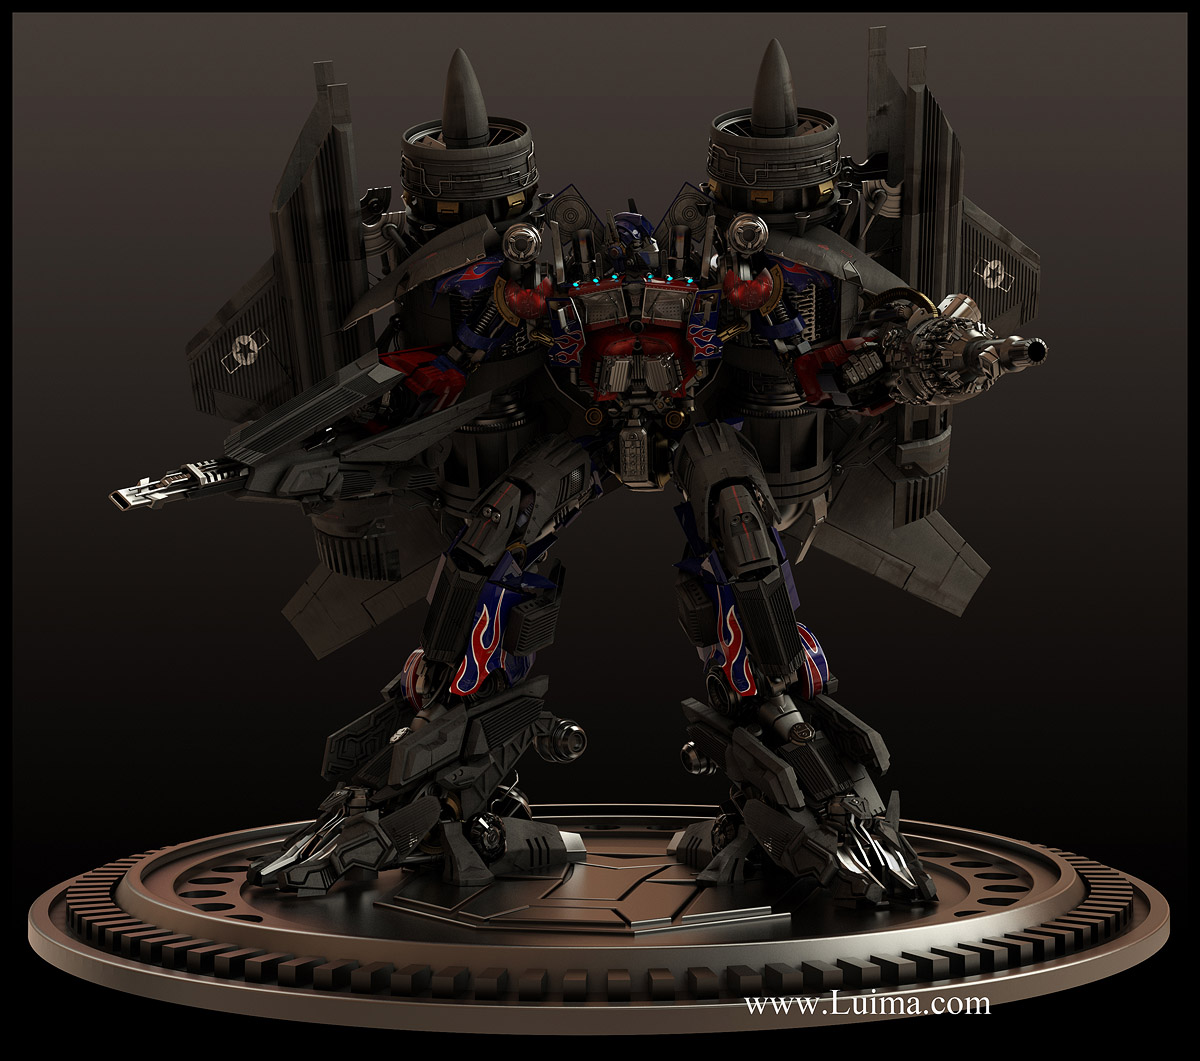
For the second animation clip I went for a "japanimation" style that shows the Optimus/Jetfire combination.
Rendering
I started testing render options during the modeling stage. Due to the complexity of the mesh I wanted to have an early idea of what kind of render times I would be facing. The scanline render with two lights and shadowmaps on gave an average time of 18 minutes per frame at 1920x1080. Fairly fast but not realistic at all, so I switched to Mental Ray. With glossy reflections and global illumination turned on, render time increased a lot: almost 10 hours per frame. At this point I was giving up the idea of rendering a complete animation and was thinking of only rendering high resolution stills. A few days later a client asked me to check a new renderer he recently bought, to see if it was possible to use it for a certain production he had in mind. It was the Arion renderer, from RandomControl (makers of Fryrender). The test I did for him was the transformation clip of the Optimus model. Compared to CPU renderers, I found an incredible render time difference. Arion was 50-60x faster than Mental Ray on the same rig. The average time for each frame was 3.5 minutes. The downside was that I had to keep my textures below 1024x1024 pixels. Because of this limitation I had to redo all the texturing work, splitting the high resolution textures into several 1024 textures. Since this renderer does not have displacements, SSS, dispersion and absorption on dielectric materials (glasses), I had to render all these passes in Max (velocity, alpha, transparencies, etc.).
Another issue I faced during the rendering stage was storage, since Arion doesn't read 3ds max scenes, it converted each animated frame to a separate object. The Max scene was over 1 gigabyte, which means that an animation with 30 frames (1 second) would need 30 gigabytes on disk. I rendered 3000+ frames, you can guess the rest. More than 3 terabytes of animated geometry. When I compared the unbiased quality of the renderer, though, I decided it was the best way to go. The complete time for the entire animation was 5 days with 4 PCs for the diffuse+global illumination pass. When everything was done, I used After Effects to combine all the passes.
(Click below to see the final animation)
Optimus Jetfire final animation
Conclusion
Working on a project for a large period of time can be something very difficult if you don't focus and have the patience and perseverance it demands. I have learned from this project that achieving a vision is something that doesn't happen overnight in all cases. It started as an experiment, to see if it was possible or not, and to test various techniques. Had I known all the problems this project was going to present, maybe I wouldn't have dared to jump into it. On the other hand, if that had been the case, I wouldn't have found out that it wasn't impossible either. Sharing your work in progress on a forum can be a little scary at the beginning, but it helps you in a lot of ways. The opinions and points of view from other artists are very valuable, and to be able to lose the fear of being wrong is a great thing. Dealing with the opinions and criticisms from others has helped me a lot, because we are constantly learning new things. I have learned from them that we need to keep learning. Sometimes we tend to be satisfied with what we know, but that's not enough for a real artist. We need to continuously learn new techniques, new tools, new methods, etc., so we can grow in our field, whatever that may be.

Luis Manuel Morillo (Luima) is a self-taught modeler/animator from the Dominican Republic. He decided to learn animation back in 1993, when he watched Jurassic Park for the first time on the big screen, and has been inspired by the work of Industrial Light and Magic ever since. Despite the animation industry in his country being almost non-existent, he opened a small animation studio in 1999 (raycastdr.com) with his brother and a friend. Most commercial opportunities available in his country are small projects, so he tries to challenge himself to keep learning new things, and every time he sees a movie that makes him wonder "how did they do that", he tries to answer it by finding a way to do it despite all possible limitations. You can find more about his work at www.luima.com.


Latest Comments