Introduction
[specs-box]
VRayPattern is a 3DS Max plugin made by iCube, publishers of the well-received MultiScatter and VRayScatter plugins. At first glance VRayPattern appears to be another entry into the burgeoning proxy scattering market, already well served by the aforementioned and competitors such as Carbon Scatter, Forest Pack Pro and ScatterFX. It is tempting to ask what VRayPattern, with its comparatively minimal feature-set, can offer to differentiate itself. Upon closer inspection however, we find a tool that takes a rather different approach to multiplying geometry, sidestepping proxies to allow a literally limitless amount of geometry to be rendered.
The plugin exploits a feature of the V-Ray SDK that enables the use of geometry as a texture, somewhat akin to vector displacement, but instead of 2D maps it enables any source mesh to be distributed onto a target surface. This unique approach lends itself to situations that require dense geometry that either tiles seamlessly or in a regularly modulated pattern.
To appreciate the uses of VRayPattern it is helpful to think of it as a 3D displacement texture map. This explains its limitations – a lack of advanced randomising or distribution algorithms – and also its main strengths: fast rendering, the ability to deform the source geometry to follow a target surface, and low memory usage.
First Impressions and Workflow.
To create a new VRayPattern object you simply navigate to the V-Ray geometry roll-out and create a new instance in the viewport. Its unassuming UI can be found in the modify panel just like any other object. Using it couldn’t be simpler: a PDF manual is provided, but will require little more than a cursory glance to get up and running. Part of VRayPattern’s efficacy is due to its ease of use and speed to set up.
There are two key components of the interface: base and surface parameters. Using these, the workflow is very straightforward, simply pick base geometry from either the scene or a separate file, and identify the surface over which it should be distributed. There are additional settings to control the cropping, orientation and tiling of the base geometry, restrict the distribution to particular map channels, and some features to create 2D previews, but little else. This is not a tool with a steep learning curve.
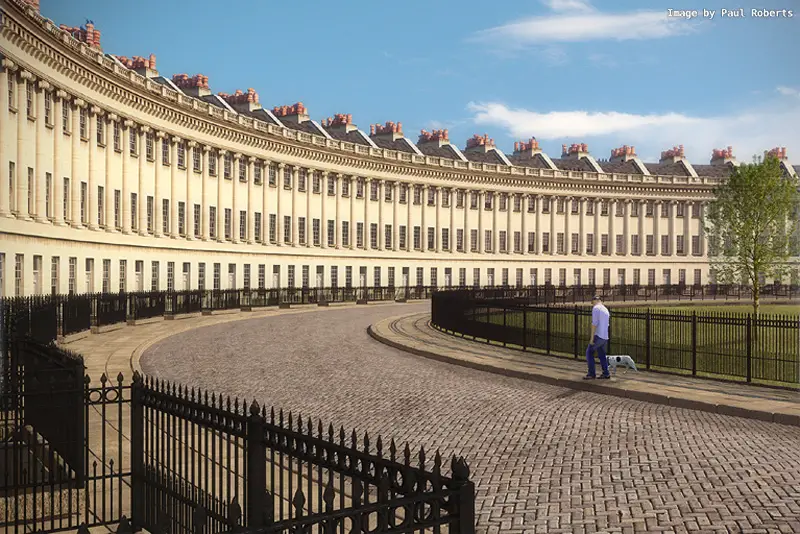
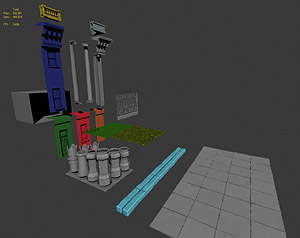
To see how well the plug in performs we’ll explore each of the settings in the context of a simple test scene. The objective was to use the plugin for as many elements as possible. In the final render only the road and the roof were not created with the plugin.
Creating the Geometry
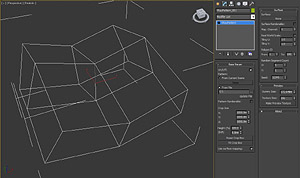
The most time-consuming aspect of using VRayPattern is creating suitable geometry. There are two conditions this must fulfil. Firstly, in order that the pattern’s edges are not obvious, the base geometry must tile seamlessly or have obtrusive joints designed-in. Secondly, the surface must be UVW unwrapped with minimal distortion. Since the pattern’s height scales proportionately to its footprint, overly stretched UVWs will result in geometry unexpectedly jutting from the surface.
VRayPattern has no part to play in this process directly but it’s worth noting since the creation of appropriate meshes is by far the most labour-intensive step. However these are likely to have been necessary regardless of whether this plug in is part of your workflow.






I also think the animation feature would be wonderful! Sampling animated geometry and allowing animated base geometry would allow complex animations like dense vegetation, etc.
I have no comment about the software itself but I’d just like to say it’s refreshing to read such a professional, thorough, no-bullshit, review. You’ve done a great job.