Setting up the Pattern (Base Parameters)
Once created, your patterns can be either stored directly in the scene or in a separate file. This is a useful feature that allows you to build a library of reusable assets, especially in a large studio where a central repository is desirable.
When storing your patterns in an external file there are a few limitations to be aware of. The library browser does not use a standard Windows file selector, which by itself is not a problem, but the replacement lacks features we’re accustomed to and is slow to navigate. The reason for a custom selector is to allow VRayPattern to remember the location of the library – set by clicking “save library path”. This is a great idea, with a single click you can access your library. However, in order to set the path, 3DS Max must be running as an Administrator and more irritatingly, it wouldn’t store folders with spaces in the name. Fortunately if your library location isn’t going to change, you need only run as Administrator once. The problem can probably be resolved with some judicious permissions tinkering.
Once you’ve negotiated these limitations the library is a very useful feature. Each file can have a 160 x 100 pixel JPG assigned to it for easy identification, and it allows for much more organised and less cluttered scene management.
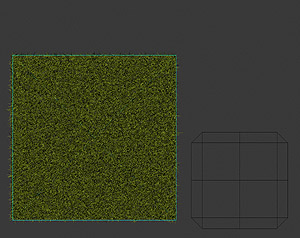
When the base geometry has been picked, a crop box surrounds its extents. This is used to sample the geometry to be tiled, anything outside the box is ignored. The size is fully customisable using spinners or by scaling its sub object. This is essential for objects where the edges are ill-defined such as a grass pattern where leaving the crop box at the defaults would result in gaps between the tiles.
When creating the test scene I found that any boundary geometry that ran parallel to the crop box could often be lost using the default size settings, even when the edges are well-defined (This can be seen on the cornice in the final render). To fix this problem it’s a simple a case of slightly increasing the size of the crop box on the appropriate axis.
By default, the crop box is oriented to the XY world space. This is easily changed by rotating the crop box sub-object, unless your pattern is in an external file where rotating the crop box doesn’t appear to work. In these cases it’s best to ensure the pattern file is aligned correctly to avoid frustration later but it would be better if the orientation could be changed directly from within the scene file.
A crucial setting is the shift spinner that adjusts a plane on the pattern object to determine the position to be aligned to the host surface. Shift was crucial in the test scene to ensure that the different building components worked seamlessly, unfortunately it doesn’t work quite as advertised.
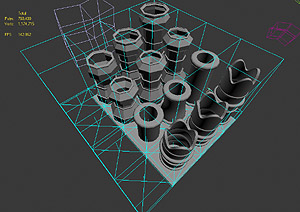
I’ve created an image to explain the anomaly. In this quick test an object was created with clear marks at 25% intervals. Logically, if the shift setting is half the height of the pattern it should intersect the surface at its mid point. What we actually see however is the pattern intersecting at a quarter of its height. If however, shift is equal to the height of the object it will intersect half-way. It seems the intersection point is always half the value of the shift measurement. This will probably be ironed out in future releases – and once realised it was easy to remedy – but it might cause some confusion to new users.

The shift plane doesn’t behave quite as expected, the actual plane position is half the distance indicated by the spinner value
A simple toggle allows you to switch between texturing the pattern using its own or the surface’s UVW coordinates. This feature allows for texture variations across the whole surface and goes some way to allowing variety in the pattern. In the test scene this is used on the grass to introduce a subtle hue shift across the meadow.
Materials must be applied to the VRayPattern object and not the pattern geometry itself. The plugin does not automatically adopt the material of the pattern object – though it would be nice if this were included as an option – unless it is saved in an external file.
Setting up the Surface (Surface Parameters)
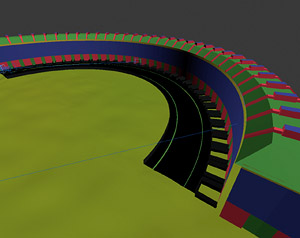
The surfaces used to render the test scene as they appear in the viewport
Random segment count used to randomise the selection of chimney pots
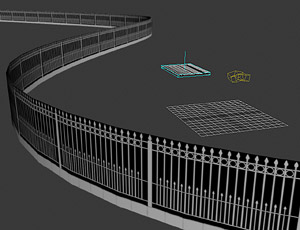
The surface section is used to select and control the pattern’s distribution. The plugin is able to easily control the number of tile iterations using simple UV spinners or real-world measurements. A useful feature is the ability to choose map channels to allow for different tiling configurations on a single surface, such as offsetting pattern’s joints or rotating the UV coordinates.
The surface settings are very easy to set up and use, though currently each pattern can only be applied to a single object. To have the same pattern on multiple surfaces you must either duplicate the pattern or attach all the surfaces together to make a single poly object. The ability to pick a list of surfaces would be a far more elegant solution.
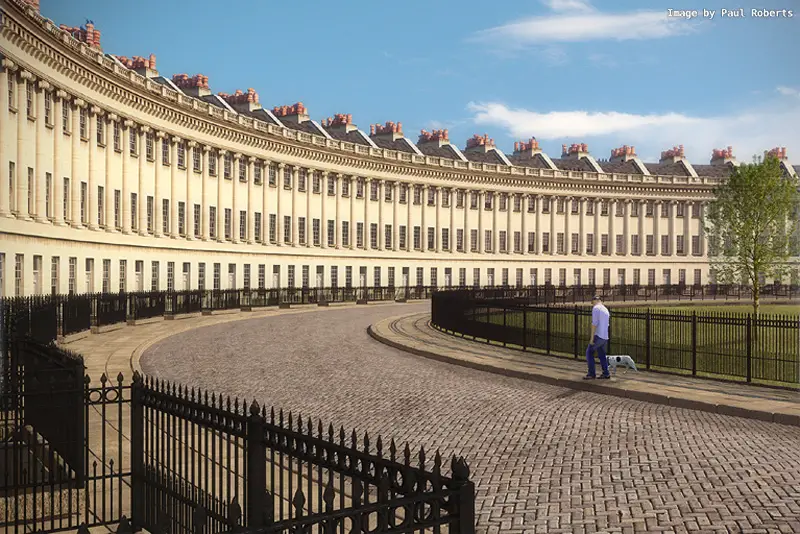
Specific material IDs can be targeted to enable patterns to apply to a part of a surface. This can be seen in the test scene where the facade is broken into IDs to identify different stories, windows, cornices, etc. Moreover some randomisation is possible. The crop box can be regularly subdivided using the random segment count controls. VRayPattern will then pick one segment at random as the pattern object. By including blank spaces it’s possible to create a more irregular scatter pattern. The chimneys, flowers, and open windows in the test scene use this principle and it’s a very simple way of adding some variety to your renders.
Generating Previews
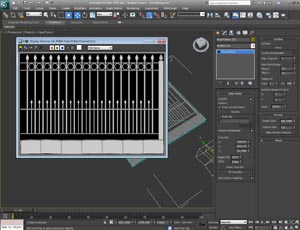
In the Preview section, the plugin allows you to control the size of the icon in the viewports and create preview textures. The latter is invaluable when working out pattern tiling, since there is no other way to see the end result without performing time-consuming renders.
Clicking the “Make Preview Texture” button will render a black and white preview. Once saved, it is necessary to create a new material, and apply it to the surface. Though not a major or lengthy procedure, I must confess that I only did this when it was absolutely necessary. An option to automatically create a simple material and apply it to the surface would be a valuable time saver. Doubly so if the UV tiling of the VRayPattern objects and the bitmap were wired together to remove the need to update them both separately.





I also think the animation feature would be wonderful! Sampling animated geometry and allowing animated base geometry would allow complex animations like dense vegetation, etc.
I have no comment about the software itself but I’d just like to say it’s refreshing to read such a professional, thorough, no-bullshit, review. You’ve done a great job.