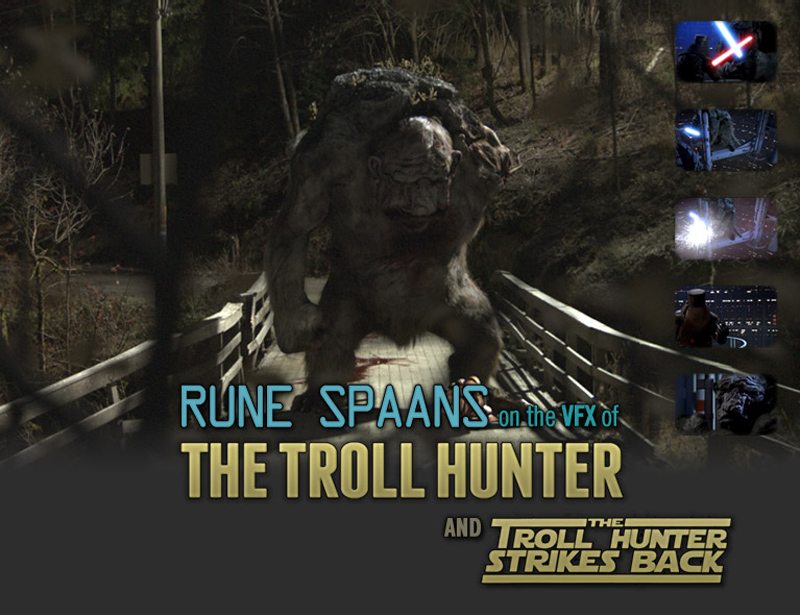
A tools greenhouse

Rune’s Super Tools scripts collection
As mentioned, I have my own simple rigging system that I keep expanding on every character project I do. I also have a script collection that I call the Super Tools that I call my "tools greenhouse" – as they will keep growing as long as I find time to care for them!
I thought I’d write about some of the scripts that have helped me the most.
One of my favourite scripts is called Super Morph Splitter. It takes a morph target, and splits it into a left and right morph target using a custom distance value. When these two left and right morphs are combined, they will look like the original morph target. I think most people would agree that it’s much easier to create a symmetrical face expression. So with this script I can model a nice looking smile, but then let the computer figure out how it should look separated into right and left sides.
Another handy script I’ve programmed is the Super Attach to Closest Bone. This script breaks an object apart, and parents each polygon to the bone that is closest to them. I started rigging for the troll long before I modeled it, and with this script I could test out the rig on my high-resolution Mudbox model months before I did the final troll topology. I was surprised that the script created a better bind result than the 3ds Max skin modifier, especially on fingers. I’m interested in transfering the math into a skinning tool in the future.
And finally I thought I’d mention Super Attach to Surface. This script takes a selection of objects, finds out the nearest point on a mesh, and then locks the object to that point on the mesh. I used this script to attach the bushes and rocks to the back of the troll.
I intend to release most of these scripts to the public at some point, but I need some new character jobs to be able to make them presentable. I hope that will happen sometime next year.
Building and detailing the assets
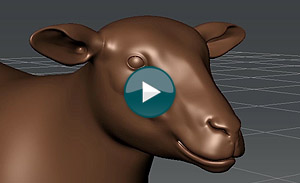
Screen capture session of sheep sculpting with Mudbox
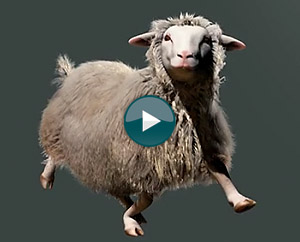
CG Models Showcase: turntables of the digital models made for the film
I started building and rigging the stunt sheep, or Shaun as he is called. He was my guinea pig for testing out the animation workflow on the troll, what hair sim to use and how to light and render the scenes. He and the troll were built using what I guess is the most common process at the moment. First a quick mockup was made in Mudbox, this model was then re-topologized using Polyboost (now built into Max) and Wrapit. I then did the UVs in Unwrella, before more detailed sculpting and texture painting was done in Mudbox. I painted several paint layers and masks, and combined these in Nuke to make the final textures for the characters. I set this up in Nuke so that each UV tile was a separate frame.
This was the first time I had to combine everything I’ve done in 3D into one project, and make my most detailed character to date. Even though this was a feature film, I had to keep things manageable for one person. My philosophy is that every polygon adds up, and that extra polygons will lead to more time being spent doing UV’s, building morph targets, skinning and simulation. So I kept the polygon count extremely low on these objects. The troll was around 3400 polygons, with about two thirds of those polygons in the face. (I did 3D-models for video games in the early nineties, this was the usual polygon count back then.) The poly count turned out to be a little too low when I started doing muscle sims, but for the most part it was fine.
The troll hunter in armor was modeled by Atle, and textured using photos taken on the set.
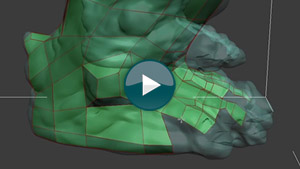
Screen capture session of troll retopo
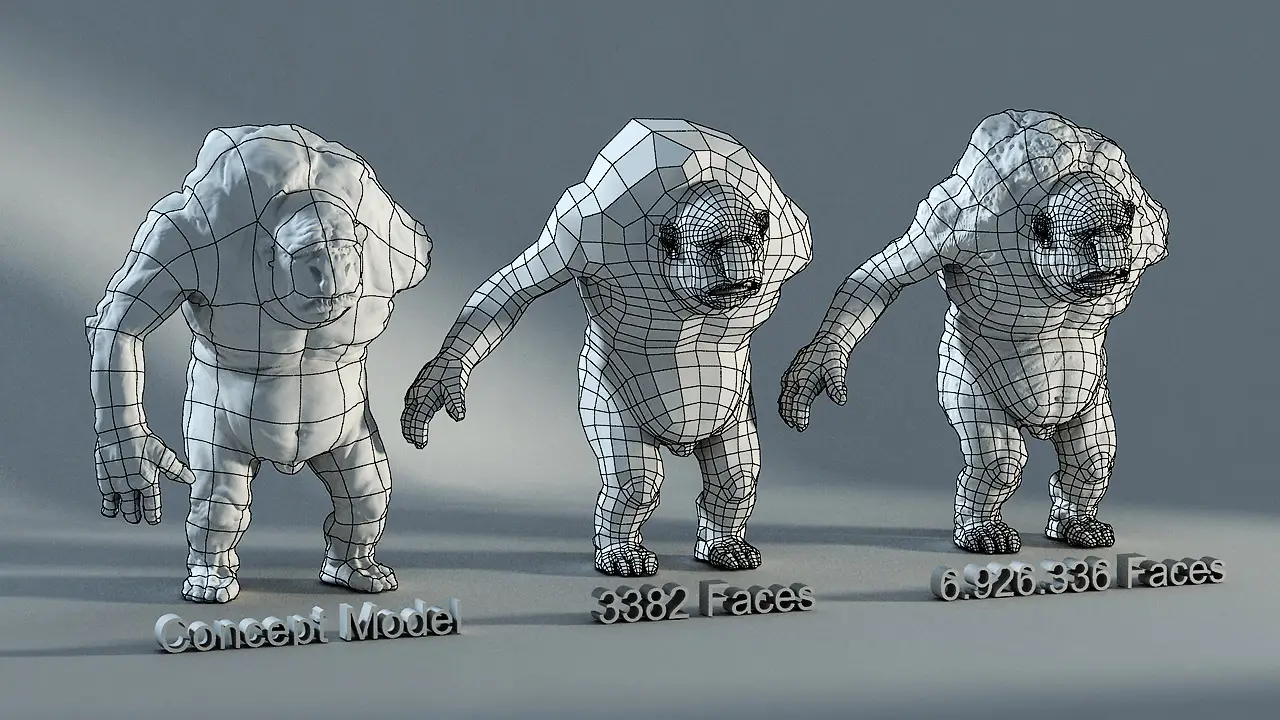
Retopologized troll and polycounts
Iterating through the shots
My animator started animating as soon as the rigs and rough versions of the characters were ready. I then detailed the characters and worked on light and rendering in parallel to the animation, giving the animator updated characters and scenes as I went along.
Halfway through the project, my simple pipeline started taking shape. Here’s how it worked:
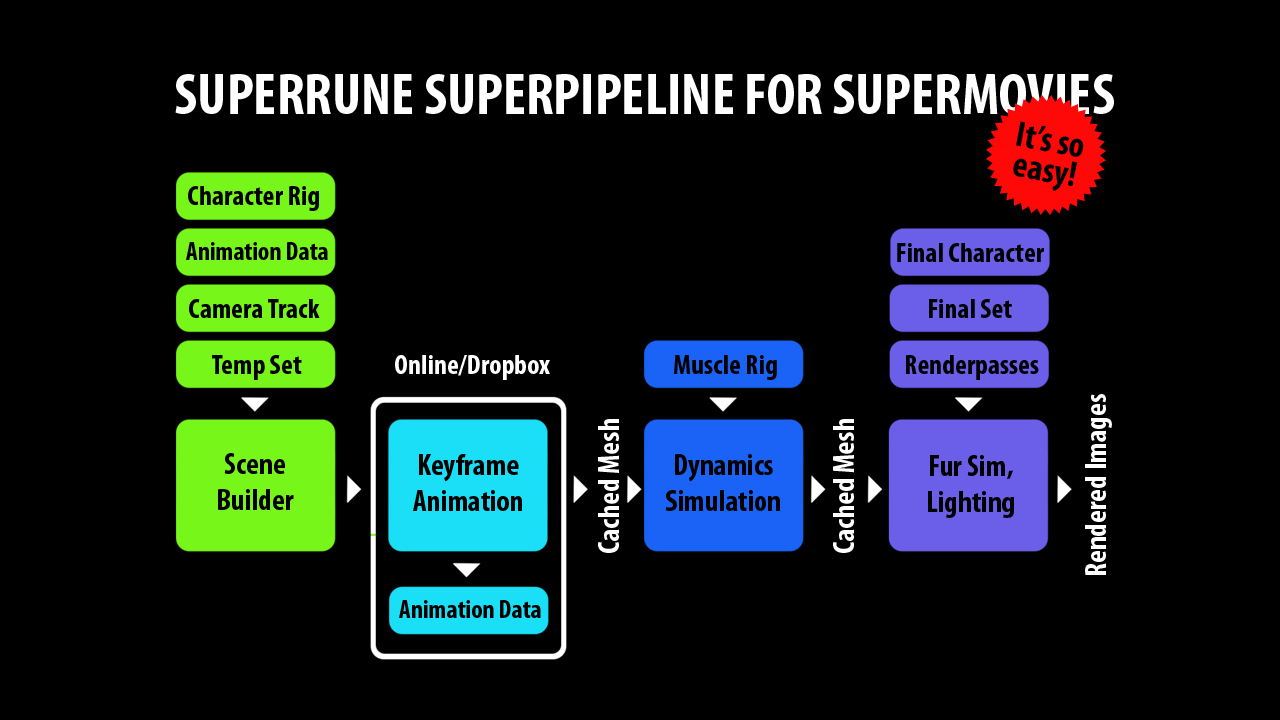
1. The scene builder script will collect the latest versions of all animation assets, and build a maxfile for my animator, which is then put onto Dropbox.
2. When a new version of the animation is ready, the animation is simultaneously exported back to the scene builder, and baked out for the next step.
Ringlefinch from Rig to Render
3. Muscle simulation is done on a simple muscle rig, where the muscles affect the baked version of the characters. The resulting simulated mesh is baked once more.
4. The render scenes are put together using the final textured and displaced character, with baked animation from previous step. The hair is simulated in this step, and the character is lit and rendered in multiple passes.
Simulation
One of the many benefits about being small, is that you can quickly change your way of working, and play with different software solutions on every project. I try not be too attached to my software, and I’m always looking for something that makes me solve things faster and with higher quality. And I’m always happy to find procedural solutions that also look good. Good-looking procedural animation is particularly great, since it gives you "free" and realistic looking animation.

Screen capture session of sheep fur styling

Hair simulation using Hair Farm
On this project I wanted to see if I could find a better solution for hair, I’ve found the built-in solution in 3ds Max and almost all hair plugins to be both time consuming to setup and unstable to simulate. Hair Farm had just been released, and proved to be quicker and better than every other solution I have tested. The simulation part was especially good, with a gravity-compensating feature that lets you do hair simulations with no run-up frames.
Muscles was something I didn’t think I would find time to do, but turned out to be a lot less setup work than I thought. I used SkinFX to build the muscle geometry, and SkinFX has a skin jiggle feature that I used on the troll belly. SkinFX doesn’t do muscle dynamics, so those were done with the Flex modifier built into 3ds Max. The great thing about Flex is that it is real-time (something I wish more of the 3ds Max simulation stuff would be, simulations should challenge your creativity, not your patience), but it can be unreliable. If the character is running fast, the muscles could be hanging a metre behind him! Also, I never got Flex collisions working reliably, so I couldn’t have the muscles stopping when hitting bone, which meant muscles would suddenly move too much into the body. I ended up compensating for these two issues by keyframing the flex influence by hand – which would have been totally unacceptable if there had been double the amount of shots.
I also set up some cloth simulation for all the belts, straps and mud flaps on the troll hunter armor. These were simple polygon strips, simulated with Max cloth. The detailed render-mesh was skin wrapped to these strips.
Muscle dynamics created with Flex and manual keyframing
There was also two smaller simulation issues that had to be solved. I used Rayfire for breaking apart the bridge as the troll hand reaches for the sheep. That was only visible for a couple of frames, and perhaps overkill to do. But it took only an hour or two to setup in Rayfire, and it would probably had taken just as long modeling the bridge debris by hand. I used Particle Flow to blow up the Ringlefinch at the end of the sequence. I emitted chunks of meat and a spray of blood from a troll-sized plane under the bridge. The meat chunks was made from an instanced sphere with a noise deformer. When the chunks hit the water, they spawn flat planes with video footage of splashes. That turned out to be amazingly convincing, even though it was set up very quickly!
Troll Hunter images © Filmkameratene 2010


Thanks for the article. Awesome one-man-show and some very clever insights!
Cool making of, thanks!
It is so rare seeing these insights on a production… Well done, guys!
Very nice work !
I love the way the troll tries to eat the troll hunter @ the bridge sequence.
It looks very funny.
Great work, I loved Troll Hunter!
Haha, the bridge sequence was classic 🙂
Looking forward to seeing the Return Of!
Hi Rune, this is awesome! Thanks also for sharing the in-depth info about the creative process, not easy to find today material describing in details how a small studio designs own production pipe-line!
Thanks everyone for your positive comments!
If you’re interested in more, keep an eye on my Vimeo account. I will try and get a couple more videos out, detailing the modeling and skinning process.
Cheers!
@Rune Spaans Do you offer up your “Super Rune Tools” for others to mess with? I looked around your site, but I don’t see it there.
Hi Nivek! Not at the moment. The tools need some cleanup and a simple installer before I make them public. I hope I’ll find the time to put them up this year, I just need a project that will pay for the development.
Super 🙂 ! Better yet, supercalifragilisticexpialidocious!