Tone Mapping
Octane’s interactive credentials are assured by a great feature that allows you to adjust the tone mapping of the render on-the-fly. Important parameters like f-stop and ISO can be adjusted either while the render is taking place and even after it’s finished. Using these tools you feel more like a photographer than a 3D artist, using the live view to frame your shot then adjusting the parameters to set your exposure, all in real time. Saturation, white balance, and vignetting mean that simple post-production can be carried out without the need to use an external image editor, or even re-render.
A downside of all unbiased algorithms is fireflies or hot pixels. These may disappear the longer the render is left to run, but Octane also provides a post-production filter that does a good job of reducing them if time is tight. Not that Fireflies are hard to remove in an image editor, but this is just one more excellent feature that lets you get the majority of the work done directly in Max. It’s also worth noting that the PMC kernel produced far fewer Fireflies in complex scenes containing mesh lights combined with specular and glossy materials than Pathtracer, and if Octane Render does implement Bidirectional sampling in the future we should see a significant reduction in hot pixels and improvement in speed.
Octane Render includes a large number of tone mapping response curves based on real-world film stock and, like all the settings in the Imager rollout, this is all achieved without interrupting the render. It’s a simple case of scrolling through the list of options until you find the look you’re after. There are currently no editable parameters to manually modify the tonemapping curves, but it’s easy to export the image using a linear response and using your own settings in an external image editing program.
Post Production
Bloom, Glare, and Spectral Shift complete Octane’s post-processing capabilities. Bloom is a simple, one parameter tool that produces some very effective results, Glare allows you to set not only the power but the number of rays, the angle and blurriness making it very flexible, while spectral intensity allows you to shift the resulting glare to create some beautiful effects. These are all of course interactive post-effects.
This short video demonstrates many of these features operating on Octane’s native Daylight object.
Camera
The Imager and Post Processing options are also available in the Octane Camera object. This allows you to create multiple viewpoints each with entirely different settings. If no camera is being used, the values will be taken from the render settings. It would be handy to provide an option in the Camera object to use the global values so that all the cameras in the scene could be coordinated. Currently if you are rendering out multiple viewpoints and you wish to maintain a consistent look, each camera’s parameters must be edited individually.
There are 3 camera modes available, all targeted and physically accurate. A standard camera, a cylinder camera and spherical camera. The latter is great for making interactive panoramas or quick studio HDRI maps. DOF is automatic and very easy to control using the the aperture setting, and there’s an option to easily render out anaglyph stereoscopic images with customisable filter colours.
X and Y lens shift is useful to correct horizontal and vertical convergence for architectural renders, but it was a little tricky to get used to as you have to leave your camera level, then use the shift settings to pan around. The effects of these settings are only visible in the render, the viewports do not reflect the change, so the Octane Viewport must be used to frame your composition when using this technique. As fast as the render view is, it makes editing the scene difficult if the objects in the render are out of shot in the Max viewport, hopefully this is something that can be fixed in a future release.
It’s also possible to use 3DS Max’s standard cameras with Octane, though only some of the parameters are supported. This is helpful if you prefer a free camera or an orthographic view, since Octane’s camera doesn’t provide these features. Equally useful is the ability to use the multi-pass motion blur effect, though it’d be nice to see true motion blur supported natively by the renderer in the future.
Focusing the camera is as simple as picking a point in the render view, alternatively you can leave the camera to autofocus or use the camera target as the focus point. Personally I loved being able to just click an object from the scene and see it immediately come into sharp relief, especially when using a shallow depth of field. Using the camera in Octane is simple, fast and fun!






Very informative, thanks!
Great review Paul. I need to get my hands on this….but first, some new GPU’s.
Cheers.
That is the best information about Octane I found on the web! Thanks 🙂
Thank you for the very indepth review! Having tried the plugin myself i must have skipped a few of the features reviewed and I am very happy to see they are available. Octane is simply amazing, only thing that i am eagerly awaiting is the RENDER PASSES ( hope i did not miss them ). I’m not sure rendering STILLs is such a big problem nowadays even with cpu (low res preview, RT, distributed rendering). ANIMATION on the other hand is extremely painful process as render settings need to be cranked up, various tedious workflows need to be used to get rid of the flicker and glitches. I see OCTANE as a solution that could make an amazing difference for so many studios and individuals. Without passes though(in max plugin) there is no control in composition so it would be rather hard to apply it for a demanding vfx/commercial shot or short. Also as the review mentioned, some sort of max procedural->bitmap converter would be amazing. I really hope we’ll get an update supporting this soon. Tnx
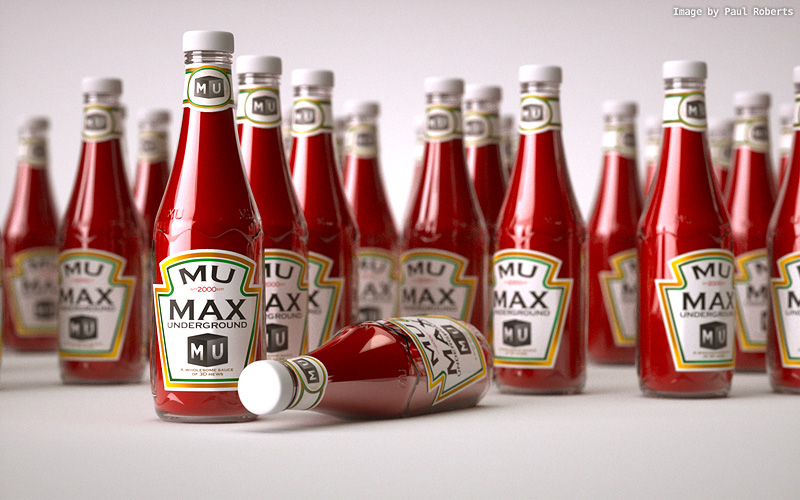
Nice ketchup render Paul!
Very nice review
Ii have a few octane licenses and according to the last build available ( or may even 1 before that) image sequence IS supported although I haven’t tried it yet.
Nildo
Thanks for the great review.. I couldn’t find the tip from Tom Glimps , on using lucid virtue built in technology on the mother board… (Sorry I’m not a tweeter guy 🙂 ) .
And can you please tell if is it possible to use this option for other engines like Iray and Vray RT?
Sorry, delayed responses.
@Iman To my knowledge the Virtu technology should work for any application that’s hungry on the GPU, it’s as simple as turning it on from the BIOS and running your monitor off the integrated card. Virtu assigns the resources automatically so that the monitor is running off the iGPU while Octane used the dedicated graphics.
@Nildo Thanks for the note. Yes you’re right Octane does now support image sequences, I think it was introduced in 1.13. The review version was 1.12 which did not, at the time, support it.
@Petr Cheers! MU Ketchup – a sauce of 3D news 🙂