Installation and First Impressions
It’s important to note that the Octane plugin for 3DS Max also requires the standalone version to be installed but once done, adding the plugin is as straightforward as copying some files the 3DS Max program directory. Both the standalone app and plugin need to be authorised using your Otoy account login details. This requires an Internet connection, but only the first time they’re run.
To use Octane in 3DS Max it’s not necessary for the standalone version to be running, this isn’t a live link, but a fully integrated renderer. Octane works seamlessly with 3DS Max. The settings are accessible from Render Setup in the usual way and you have access to 5 new materials, over 25 maps, 3 lights and a physically accurate camera.
Octane uses its own materials, there’s currently no support for any other maps or shaders with the exception of the multi/sub object material. To help overcome this, a simple tool is included that converts a good selection of standard, V-Ray, and Mental Ray maps and materials to Octane equivalents. This is a really handy feature that allows you to use a huge number of stock objects without too much extra work. To test it, I converted a scene from Polish vendor Evermotion, the only adjustment required was to increase the power of the emissive texture used for a sky above the roof light. To make things even easier, it also replaced the V-Ray sphere lights in the scene with Octane lights and matched their settings. It will not however convert non V-Ray lights, dome lights, or daylight systems.
A number of actions are available, assignable from the customise UI interface, that enable you to quickly access key features of the plugin. Using these you can open the material database, convert a scene’s materials, convert geometry to movable proxies, and open the live OctaneRender Viewport. The latter is great for quickly previewing your work, as it allows you to open an Octane window without needing to assign it as the current production renderer first. When using this feature, the most recent settings are retained. If you want to make any changes to the renderer’s parameters Octane still needs to be assigned and adjusted through the render settings dialog in the usual way.
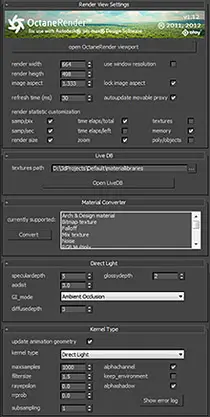
Open the render settings and you’ll be treated to a pleasingly sparse interface. Octane render has 3 tabs, one that simply allows you to activate your account and will presumably host the cloud options when the service is up and running, another to manage graphic cards, and the main settings tab. At a glance the latter can look unnecessarily complex since it contains a number of post-production effects, camera settings, viewport settings, tools for converting materials from other renderers and links to an online material database. Only a modest two rollouts actually contain parameters that affect the render settings, one to pick the kernel type and another to control its settings.
Rendering Kernels
Octane has 4 rendering kernel types: Direct Light, Path Tracing, PMC and Deep Channel. Though advertised as an unbiased renderer, Octane also includes a much faster biased option – the Direct Light kernel. This offers blistering fast rendering but at the expense of photorealism. Having said that there are 4 GI modes, and while the Ambient and Sample Environment mode are really only useful for previews and scene set-up, the Ambient Occlusion and Diffuse modes can produce some quite acceptable results. The latter, though it’s not capable of producing caustics, approaches the quality of the Path Tracing algorithm. This makes the Direct Light renderer especially useful for quickly producing animations and for situations where speed is more important than physical accuracy.
Unbiased rendering is handled using Pathtracing and Population Monte Carlo (PMC) algorithms. I struggled to tell them apart in use, though PMC seemed to converge faster when rendering interiors lit from a daylight system. Both are unidirectional tracers, but bi-directional raytracing, which would improve convergence speed, has been promised by the developers on the forum for a little while. According to Otoy the Pathtracing kernel struggles with small light sources and is less capable of handling complex caustics.
All the kernels are remarkably easy to use. If you’re used to biased renderers, the small number of controls will be a pleasant surprise. PMC is the most complex with a grand total of 6 adjustable parameters and also has the most cryptically titled settings. However the PDF documentation that comes with the plugin makes their operation very clear. In practice, they need very little adjustment to achieve good results.
There’s also a set of parameters common to all kernel types. These control the aliasing filter, Russian Roulette Probability (left on automatic), Ray Epsilon, and provide options to create an alpha channel, keep or remove the environment map and show an error log. Most importantly this section allows you to set the number of samples calculated per pixel before the renderer stops. When creating a still image it makes sense to set this value very high (the default is 16000) and leave it to render until you’re happy with the outcome. However, if you’re rendering an animation this setting will govern how much time to dedicate to each frame, so it will almost certainly have to be set with more thought. I was getting pretty good results in the 1000-1500 samples range, but it very much depends on the scene’s lighting and materials. It’s a pity that Octane does not allow you to set a time-per-frame parameter as an alternative to samples, so that you can more easily manage a render’s duration.
The Deep Channel kernel creates the equivalent of render passes, including geometric normals, shading normals, position, texture coordinates, material ID and z-depth. Clearly these are quite limited if you have a complex post production pipeline, and each one must be rendered separately. This can be quite a laborious process. If you’re rendering an animation and you need a z-depth and material ID pass, you’ll need to render the scene 3 times. It would be good to be able to create these layers in a single render, though in Octane’s defence these passes converge very quickly.
Live View
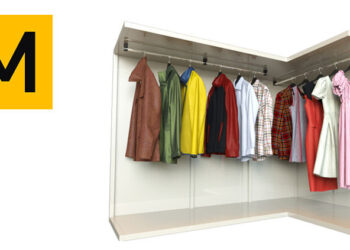
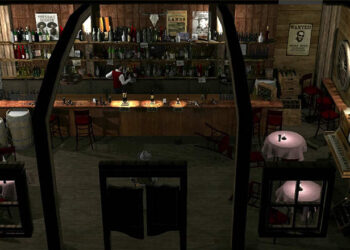
One of the great joys of Octane is the interactive render view, enabling you to work on your scene and see the results update in real-time. The results might take a while to clarify to an acceptable level, but some kind of useful feedback will be almost immediate. Once you’ve lit a scene this way, it’s tough to go back to a traditional adjust-and-render approach. The live view’s resolution can be set to either match the window, or be set numerically from its own rollout in the render setup. This has its advantages but a minor niggle is the lack of correlation between the output size set in the common tab and the resolution, or even aspect ratio, of the live octane view. A simple tick box telling octane to grab the size from the common tab would avoid having to enter these values twice. Unless you’re animating there shouldn’t be any need to use the Max frame buffer at all, the live view IS the render. That said, you cannot save an image directly from the Octane window, you have to press Port To Max Frame Buffer and save from there. The two videos on the right demonstrate Octane’s live view, showing its ability to preview animation.







Very informative, thanks!
Great review Paul. I need to get my hands on this….but first, some new GPU’s.
Cheers.
That is the best information about Octane I found on the web! Thanks 🙂
Thank you for the very indepth review! Having tried the plugin myself i must have skipped a few of the features reviewed and I am very happy to see they are available. Octane is simply amazing, only thing that i am eagerly awaiting is the RENDER PASSES ( hope i did not miss them ). I’m not sure rendering STILLs is such a big problem nowadays even with cpu (low res preview, RT, distributed rendering). ANIMATION on the other hand is extremely painful process as render settings need to be cranked up, various tedious workflows need to be used to get rid of the flicker and glitches. I see OCTANE as a solution that could make an amazing difference for so many studios and individuals. Without passes though(in max plugin) there is no control in composition so it would be rather hard to apply it for a demanding vfx/commercial shot or short. Also as the review mentioned, some sort of max procedural->bitmap converter would be amazing. I really hope we’ll get an update supporting this soon. Tnx
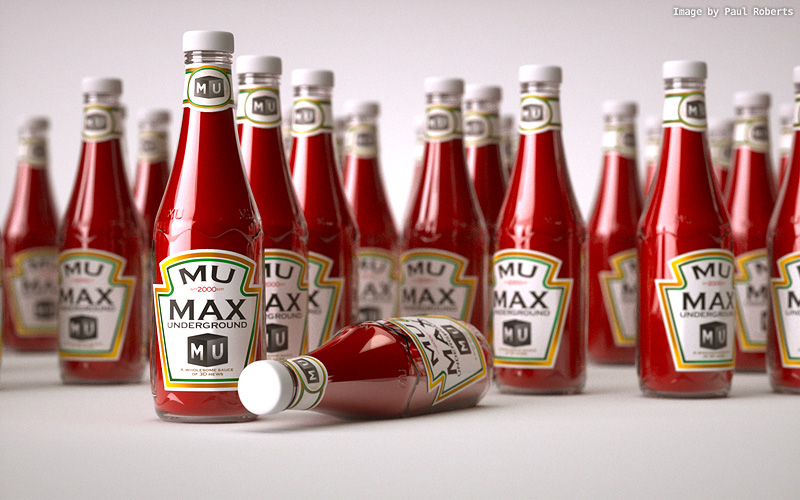
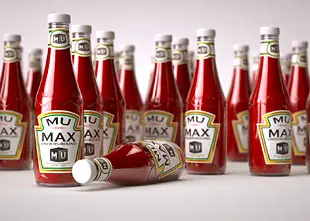
Nice ketchup render Paul!
Very nice review
Ii have a few octane licenses and according to the last build available ( or may even 1 before that) image sequence IS supported although I haven’t tried it yet.
Nildo
Thanks for the great review.. I couldn’t find the tip from Tom Glimps , on using lucid virtue built in technology on the mother board… (Sorry I’m not a tweeter guy 🙂 ) .
And can you please tell if is it possible to use this option for other engines like Iray and Vray RT?
Sorry, delayed responses.
@Iman To my knowledge the Virtu technology should work for any application that’s hungry on the GPU, it’s as simple as turning it on from the BIOS and running your monitor off the integrated card. Virtu assigns the resources automatically so that the monitor is running off the iGPU while Octane used the dedicated graphics.
@Nildo Thanks for the note. Yes you’re right Octane does now support image sequences, I think it was introduced in 1.13. The review version was 1.12 which did not, at the time, support it.
@Petr Cheers! MU Ketchup – a sauce of 3D news 🙂