Inside VFX: An Insider’s View Into The Visual Effects And Film Business
Senior VFX artist and economist Pierre Grage has written a book that offers a thorough analysis of why Hollywood is ...
Senior VFX artist and economist Pierre Grage has written a book that offers a thorough analysis of why Hollywood is ...

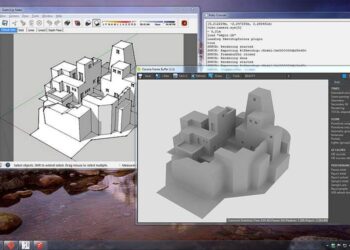
Next Limit have posted a reel with a compilation of Archviz work created by artists using Maxwell Render. Watch it ...
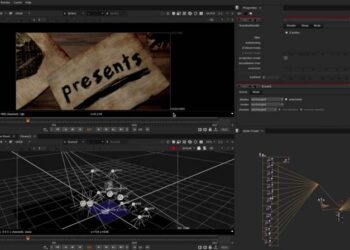
The Foundry has released non-commercial, non-watermarked, free versions of Nuke, NukeX and Nuke Studio, aimed at anyone who wants to ...

Toon Boom Animation announced the release of Harmony 12, the latest version of its 2D animation software. New features include: ...

AlphaVFX has posted a video showcasing its Object Velocity Plugin for Max. It calculates velocity vectors that can be used to drive FumeFX ...
Prague-based Render Legion announced that it is expanding the Corona Renderer development team and that it will be releasing new ...
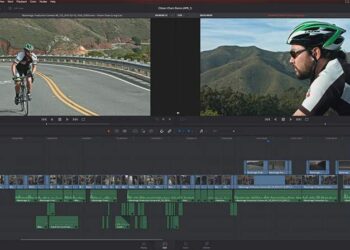
Blackmagic Design keeps moving its flagship grading software into the editing field. Having become widely adopted thanks to the release ...

New features in Shotgun Software's production tracking software include: RV in Shotgun - the RV image and sequence viewer it ...
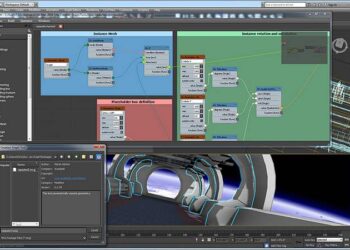
(Updated) More information can be found on Eddie Perlberg and Christopher Diggins' blog posts. A video recording of the NAB ...
(Updated) A video recording of the NAB Maya 2016 presentation is now available on Autodesk's site. Autodesk has announced the ...

CGPress is an independent news website built by and for CG artists. With more than 15 years in the business, we are one of the longest-running CG news organizations in the world. Our news reporting has gathered a reputation for credibility, independent coverage and focus on quality journalism. Our feature articles are known for their in-depth analyses and impact on the CG scene. “5 out of 5 artists recommend it.”